Step 6: Photography and Editing
posted on: June 26th, 2019
Getting photos of your finished designs is one of the bits of the design process that people find the hardest, and is well known to cause epic bouts of procrastination. There are many, many different approaches, and you will need to find something that works for you and the resources that you have available. To make it clear, we are not professional photographers, but this post outlines our approach and some hints and tips we have picked up on the way.
Photos don’t have to be perfect to make you look professional – if they’re well-lit (enough) and in focus (enough), it’s okay if they’re not technically perfect.
The whole series:
The preamble: So you wanna be a designer…
Step 1: From idea to pitch
Step 2: Charting and Ravelry
Step 3: Planning, grading and starting the sample
Step 4: Style sheet and layout
Step 5: Tech editing and testing
Step 6: Photography and Editing
Step 7: Pattern release and Marketing
Step 8: Managing your Design Business
Planning a shoot
Here are some of the questions to consider as you are planning the shoot.
Who is going to model? Doing the modelling yourself has some benefits (all the knits fit you, and it creates a strong identity for you as a designer and your patterns) and limitations (oh, the torture of looking at the photos, plus it’s much harder to take them!). Otherwise you can either hire a model, or use a friend or family member. Of course, you don’t have to use a model; many designs can be well displayed on a mannequin, for instance. But it will limit some opportunities on where you can be featured (KnitPicks comes to mind). Some designers also report that shots with actual people in them get a better response.
Who is going to take the photographs? Assuming that you are going to do the modelling yourself, the cheapest approach is to use a friend or family member behind the camera. I (Emily) have an ongoing skill swap with a local yarnie friend, Julie, but have also lived through the uncomfortable experience of having my husband (who is not particularly interested in either photography or knitwear) take my photos. I found it impossible to relax with him, and we usually ended up arguing. It is also possible to take photos yourself using a remote timer and a tripod, but it’s an added level of complication. If you have some cash to invest, you could investigate sending your finished object away for a shoot or hiring a local photographer.
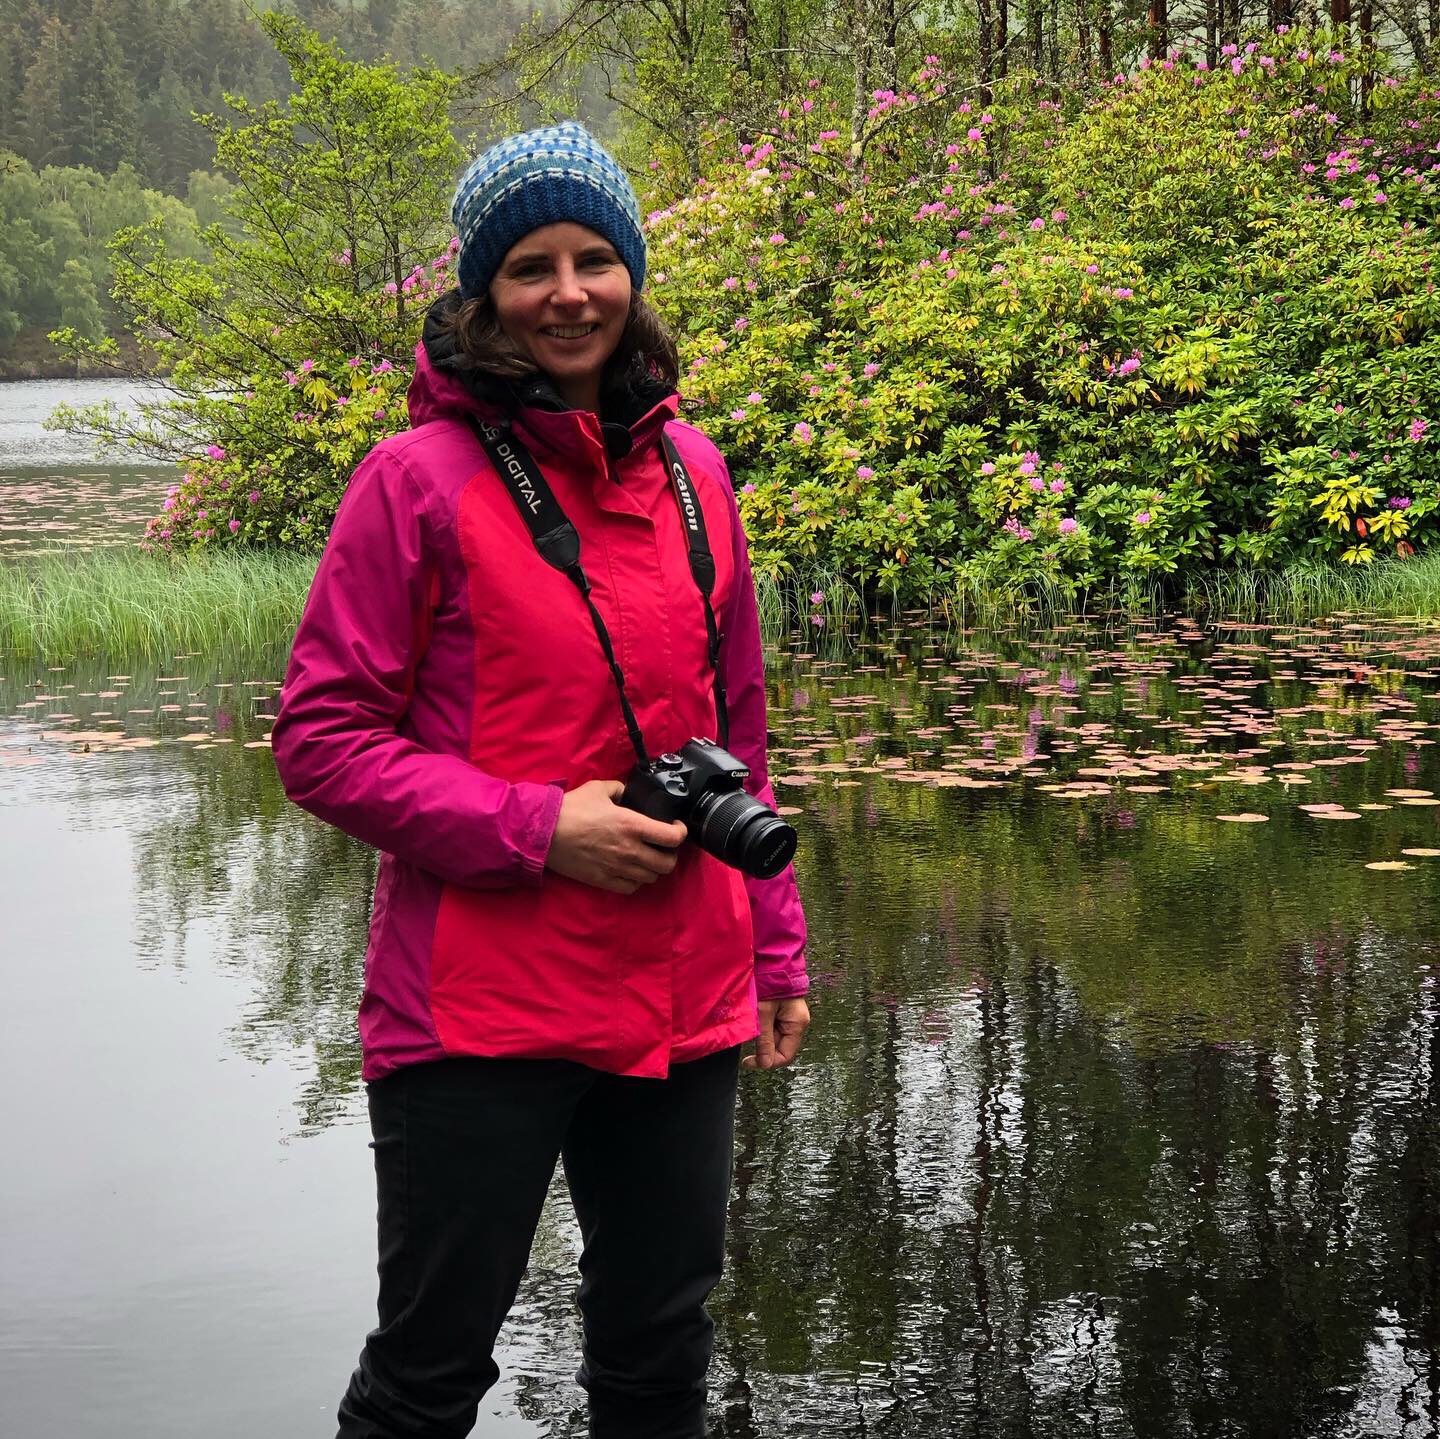
Think about styling. I shamelessly plan all my sewing projects and clothing purchases around whether they will be a good background for modelling knitwear. I have two plain mid to dark grey dresses that are excellent workhorses for this purpose. It is also recommended that you take a few quick snaps of the FO in the planned outfit and convert to black and white – I’ve found that decent colour value contrast between the knitting and the background makes it stand out really nicely. A warning though, don’t use other knit items in your styling – it creates confusion as to what’s actually included in the pattern. Also consider if you are going to use any accessories or props (e.g. a mug to hold while modelling mittens), and try these out together with your design. Robynn has found that putting a bit of extra effort into outfit styling (grab a hat!) results in attention-grabbing shots and better sales. Playing with props or accessories can also give you or your model something to do while posing, helping you to relax and creating interesting photos.
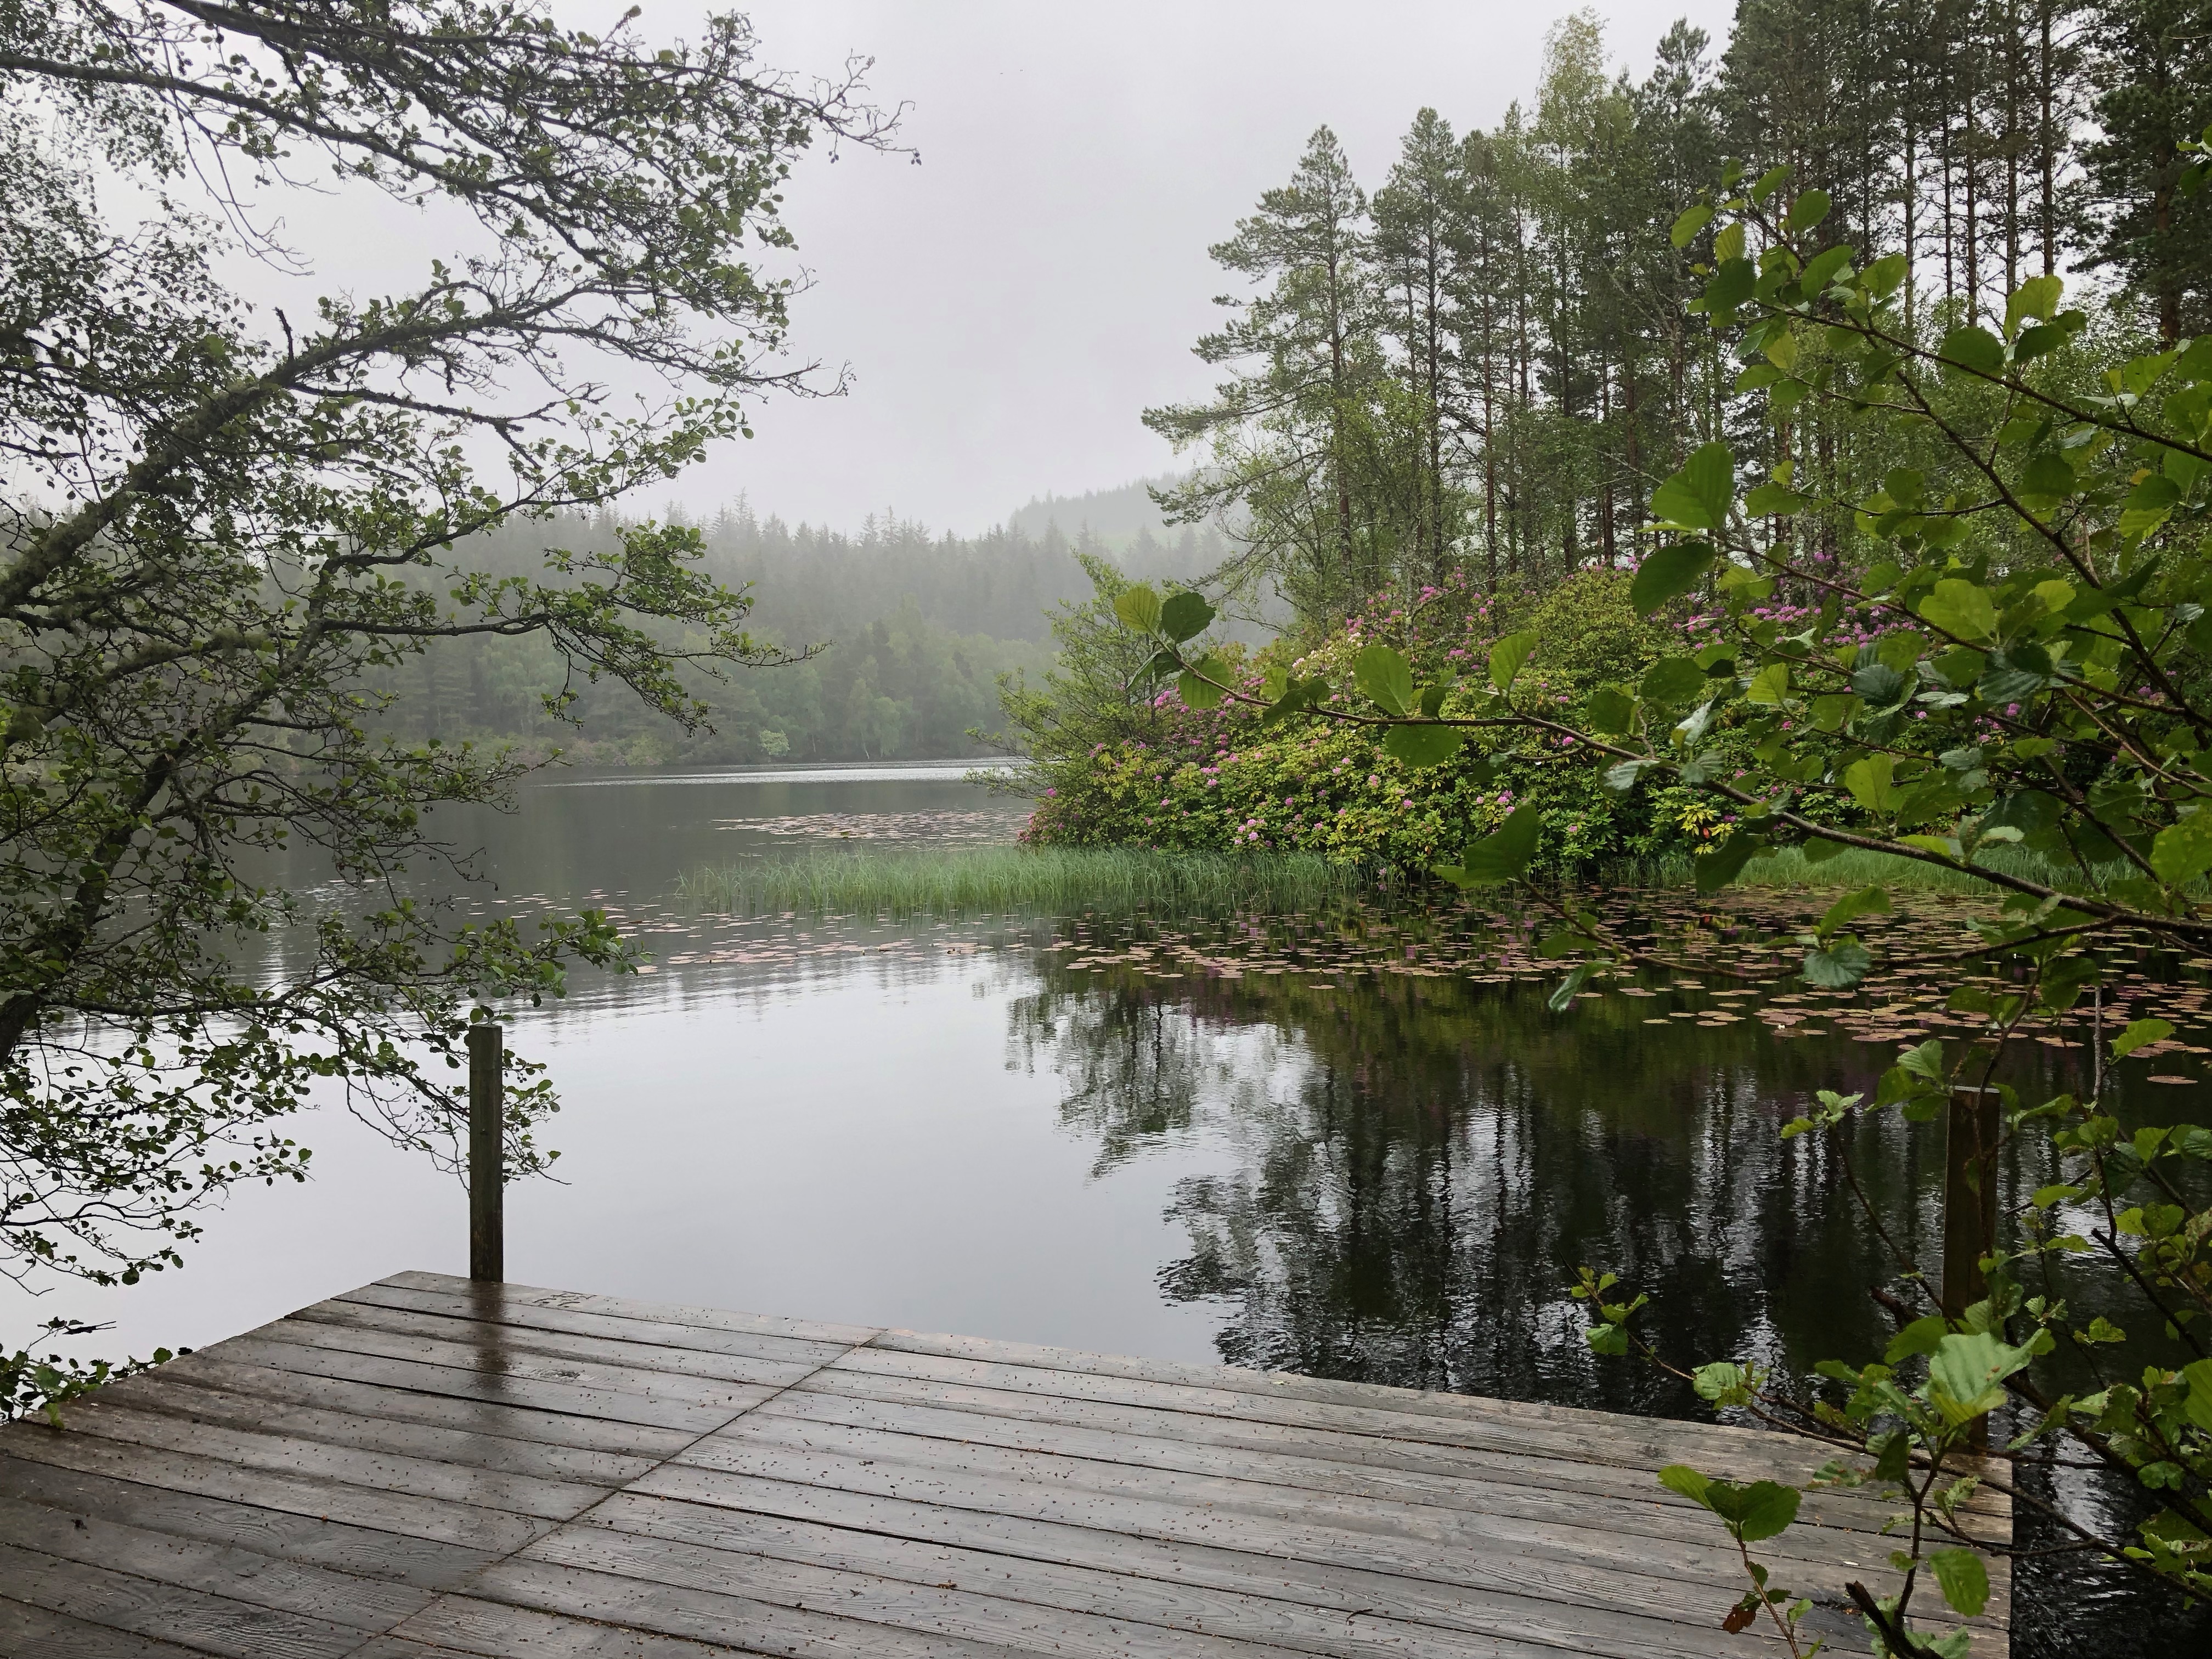
Plan your location. All my (Emily’s) photos are done within a short drive of the house, but I’m super lucky that I have amazing scenery nearby and can get to hills, forests and lochs within a 10-minute drive. But you only need a little corner to take a good photo – it just needs to not detract from the knitting. It’s good practice to snap photos of potential locations as you notice them when you are out and about. Pay attention to the background! Dirt and mess will turn people off, even if it’s unrelated to the shoot. Unless you have fabulous scenery, try to pose somewhere not distracting and use depth of focus to strongly highlight the actual model/item, blurring out everything else. Shooting indoors needs extra attention to lighting so unless you are lucky enough to have ample, diffuse natural light, great equipment or great skills, outdoors is usually the best option.
On the shoot
Timing. Try to make life as easy for yourself as possible. If you can, avoid direct hard midday sunlight: this tends to blow out highlights and cast strong shadows, making it really hard to show the details. Taking photos on a lightly overcast day (or positioning yourself in light shade) will give a naturally diffused light, or shooting nearer to dawn or dusk (the famous “golden hour”) will make it much easier to show off your work.
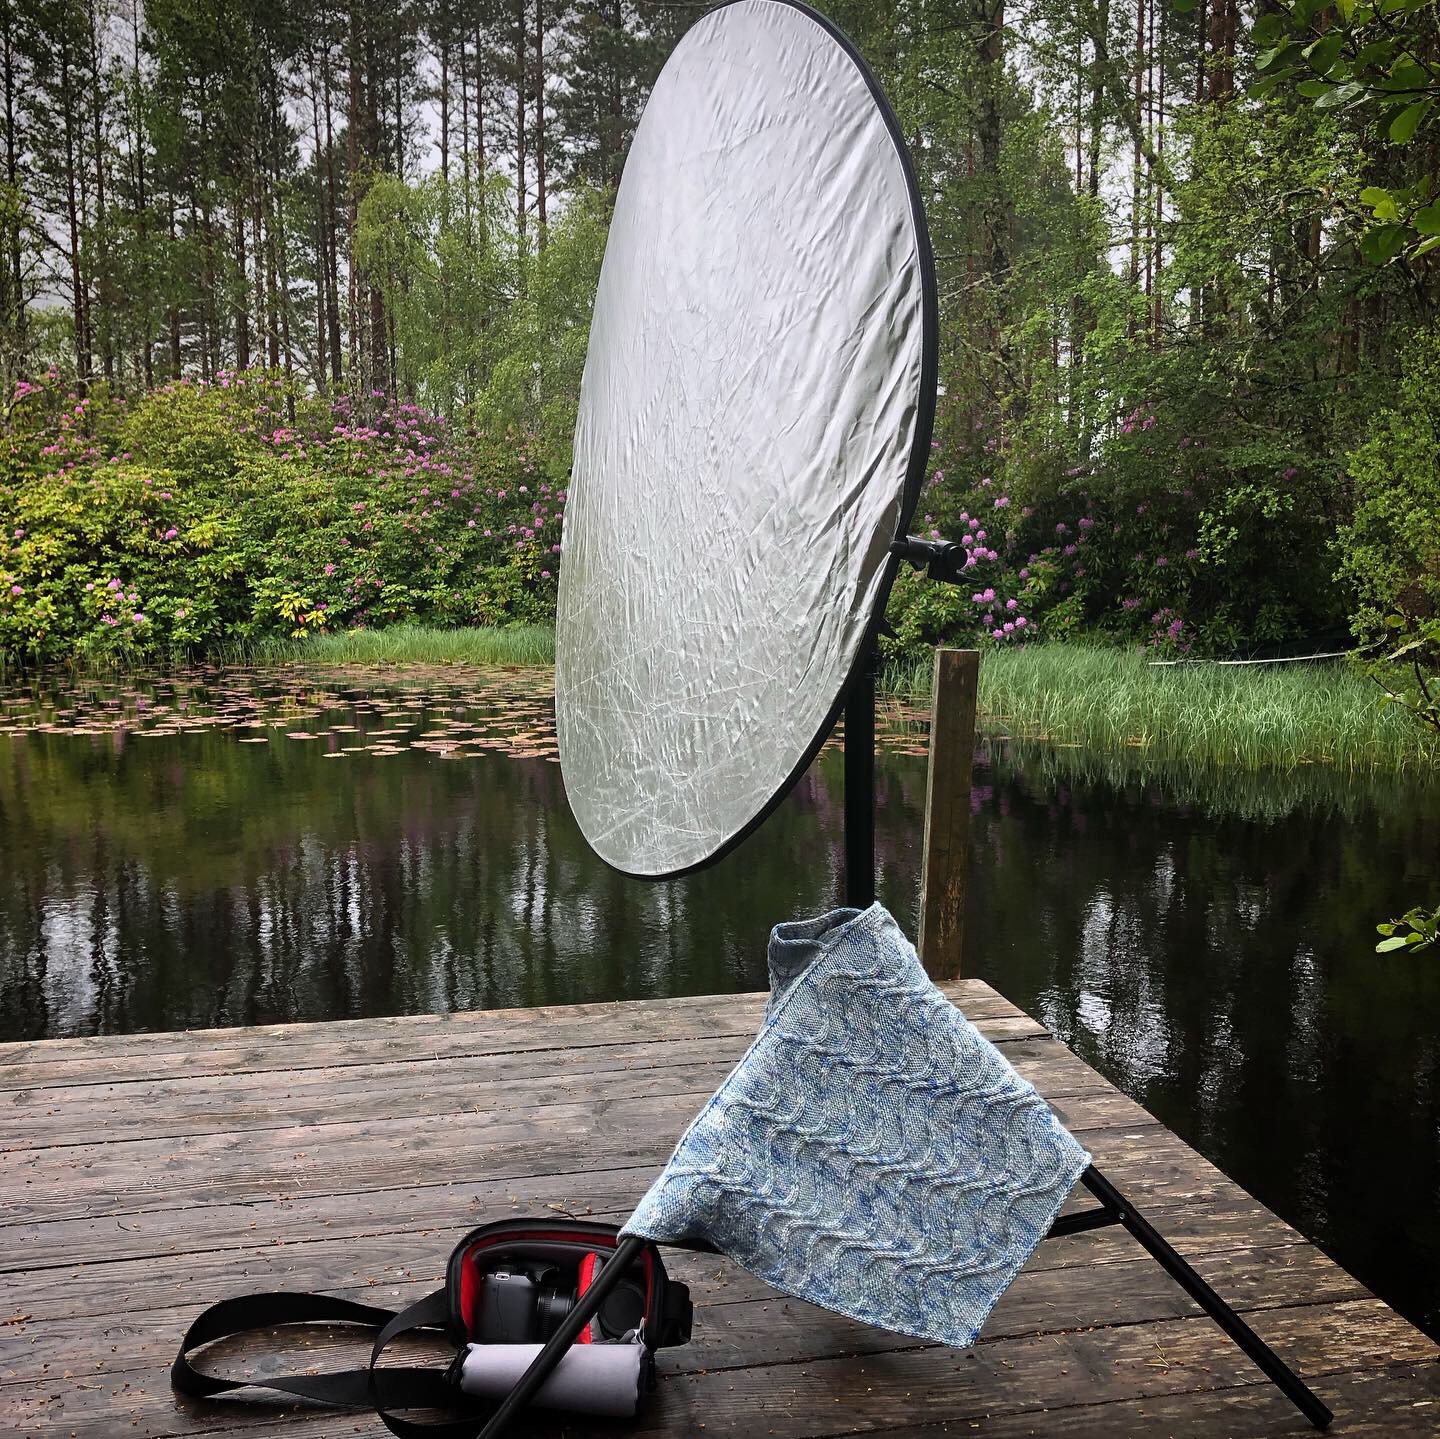
A word on cameras. I (Emily) use a basic Canon SLR camera (bought second-hand 5 years ago for £100) and a 50mm fixed lens (£50). The only other specific kit that I use is a reflector and stand (about £50 for the two). Although it was not a big investment, the camera is a big advantage as it enables me to take RAW photos, meaning the editing possibilities are much better. The fixed lens has a really wide aperture so it is capable of controlling the depth of field. But you can get good results with cheaper kit; phone cameras are so much better than they used to be! I really recommend the Adobe Lightroom App as it takes RAW photos, and allows manual focussing on my phone (though some of the features are only available to subscription holders). If you need to control the depth of field to blur the background with a phone or automatic camera, try the portrait mode.
Have a list of shots. For modelled photos, take time and lots and lots of shots. Start with the easy ones (details, back view) and work up to the front facing ones as you get more comfortable. You will want to take some close-ups, and some that show the whole garment. Think about full frontal, side view, back view, detail shots (which details?) etc. And since your photographer might not be a knitter, remind them what matters to knitters. No point in getting a really pretty portrait where you can’t see the actual garment. You’ll want to get a couple of hero shots for social media and the pattern listing’s top photo, but think about what people want to know before they make a project, and make sure to include a photo that shows it: interesting seams, approximate size and fit, the shape of a shawl, etc. Is it a pullover or a cardigan? If you do have a good background (either beautiful or neutral), it’s worth getting a few wide shots as these can be cropped in many ways. Think of an ad, for instance, where you may want to place text without overlapping the actual item.
Check how it’s going. Stop often throughout the shoot to look at the photos. If possible, take your laptop and download the pictures before you come home. Seeing them on the bigger screen makes all those annoying details pop straight out – hello pointy nipples, or flipped over button band, or label showing, rubbish in the background or funny wrinkles. Play around with perspective. If you take one step forward, two steps back, three steps to the right, how does that impact the photo?
After the shoot
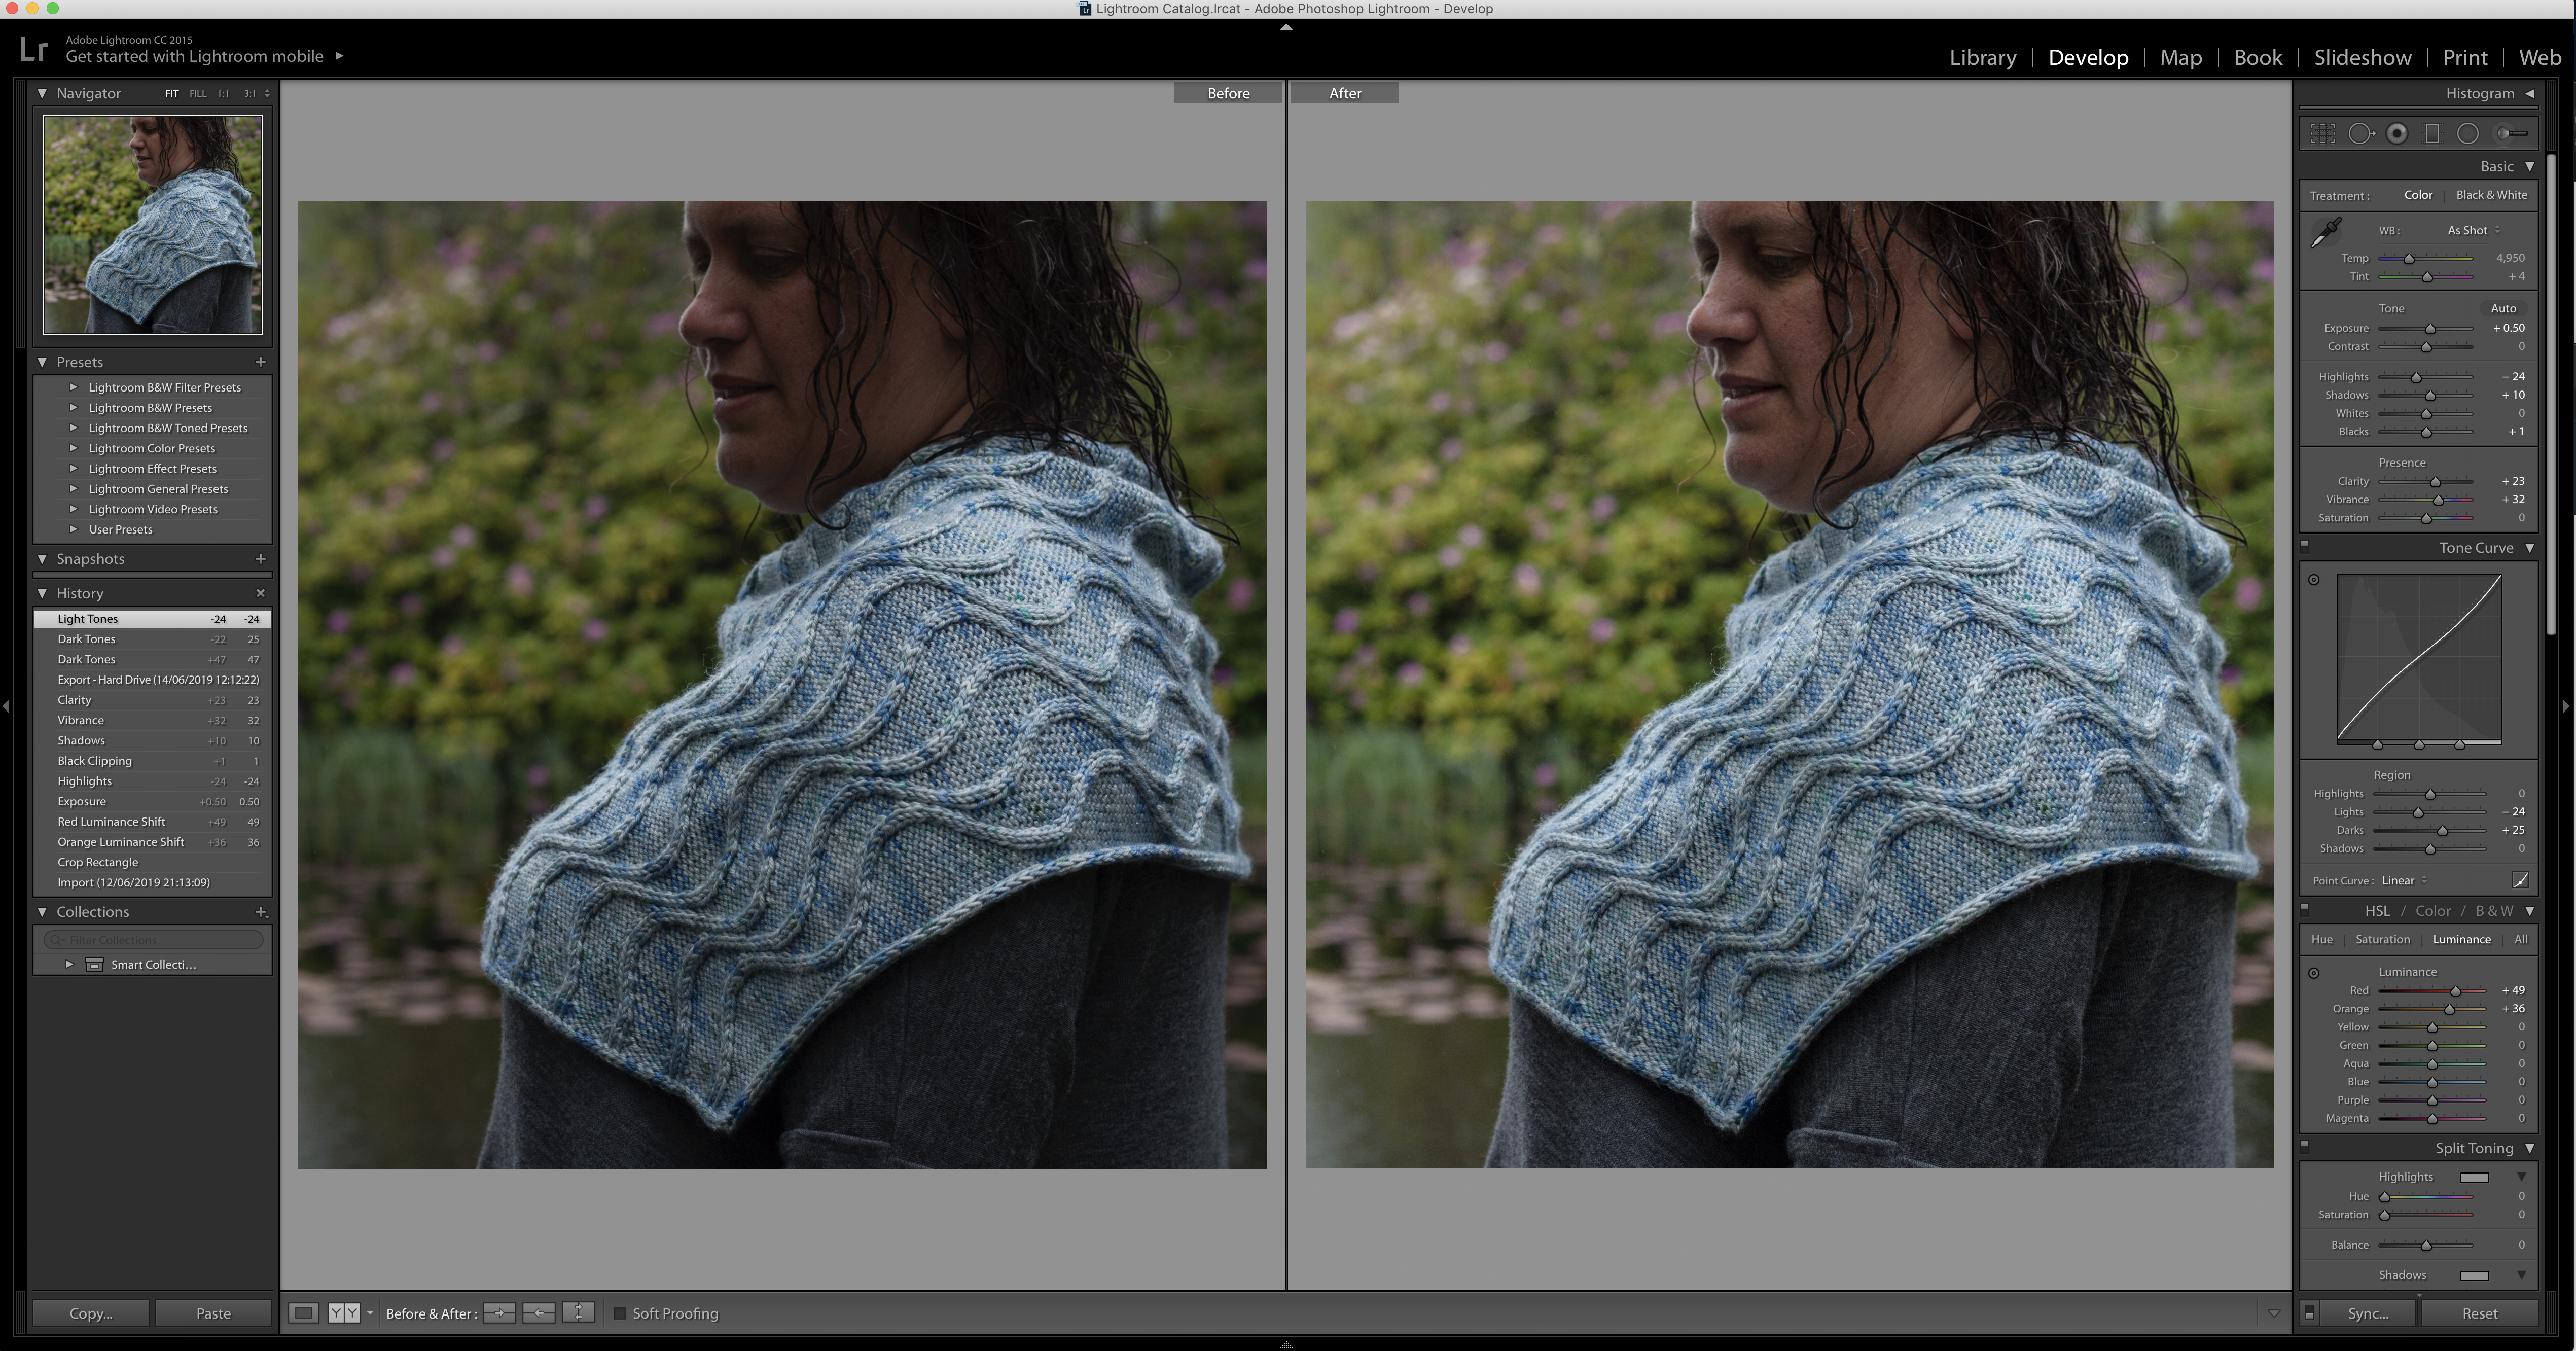
Editing programs. I (Emily) have a subscription to Lightroom/Photoshop, which is a reasonably costly option. But they are brilliant and have improved the quality of my pictures massively, especially by doing the editing in RAW format. I also use the accompanying apps (Lightroom, various photoshop apps) on my phone a lot. Lower-cost alternatives are out there: if you have a Mac, the free editor that comes in Photos is ok. Robynn recommends Snapseed for Android and Affinity for affordable desktop editing; Woolly Wormhead is devoted to Darktable for a powerful free option (open-source, all OS). If possible use a program that offers non-destructive editing so that you can go back to the original at any time, otherwise work from a copy.
First pass. Delete all the pictures that are even slightly out of focus, or where the model looks half drunk or has their eyes shut or something silly. This is usually about 30% of the photos.
Second pass. Start to narrow down the choice further – refer back to that list of shots and start to select the best couple of each angle, until there are about 15-20 pictures left. I edit these and then ask someone else to make the final choices.

Editing. Don’t be afraid to experiment and play with your editing software. Curves is my best “if you only learn one tool” tip, and often brightening the mid tones in a picture can be pretty transformational. It can also be useful to play with the luminence/saturation of individual colours if possible. When editing, think of all the different purposes you need pics for: not just Ravelry and the actual pattern, but for ads, social media etc. Tight detail shots tend to look good on Instagram, elsewhere you might want some wide shots.
BE OBJECTIVE! It is really hard to be objective about photos of yourself, and put aside vanity and feelings about your body, so if you have trouble choosing then get someone else to do it. To choose your hero shot, you could imagine the little pattern square surrounded by a big screen of HRN patterns and think about what will stand out there… sometimes a detail shot will be more impactful than a full view (and invite clicks for a better look).
Try again? Don’t be afraid to decide that none of them worked (if you’ve had a second opinion on that – see objectivity above) and do it again!
Resources:
– A Year With My Camera is a great free course, run over weekly emails (and supported by an optional workbook to purchase). She walks you through every step of a photo, and she’s a lovely person who creates lovely online spaces.
– This thread is a great resource for getting expert second opinions on not just which photo to use, but when you might need to reshoot or fix the editing.
– Beginner’s guide to using a reflector
– Here’s a broader photo thread (tips etc as well as critique) in Budding Designers.
– This is a great, detailed tutorial on using Lightroom for exactly this context (modelled clothing shots).
Exercise:
– Plan your photoshoot. Think about who will be photographer, and who will be the model. Consider time and location. Research the shots you want. Have a look through Ravelry/instagram for ideas of what looks good for a hat/shawl/socks.
– Head off and get some pictures, and then come back and have a play with editing. Get a second or third opinion on the finished results.
– Choose your final shots. Make sure you have at least one for each of the following purposes: (1) inclusion in the actual pattern; (2) the pattern listing on Ravelry; (3) social media promotion; and (4) possible ads.
Next posts:
Step 7. Pattern release & marketing
Step 8. Project & business management, final question