Step 2: Charting and Ravelry
posted on: April 15th, 2019
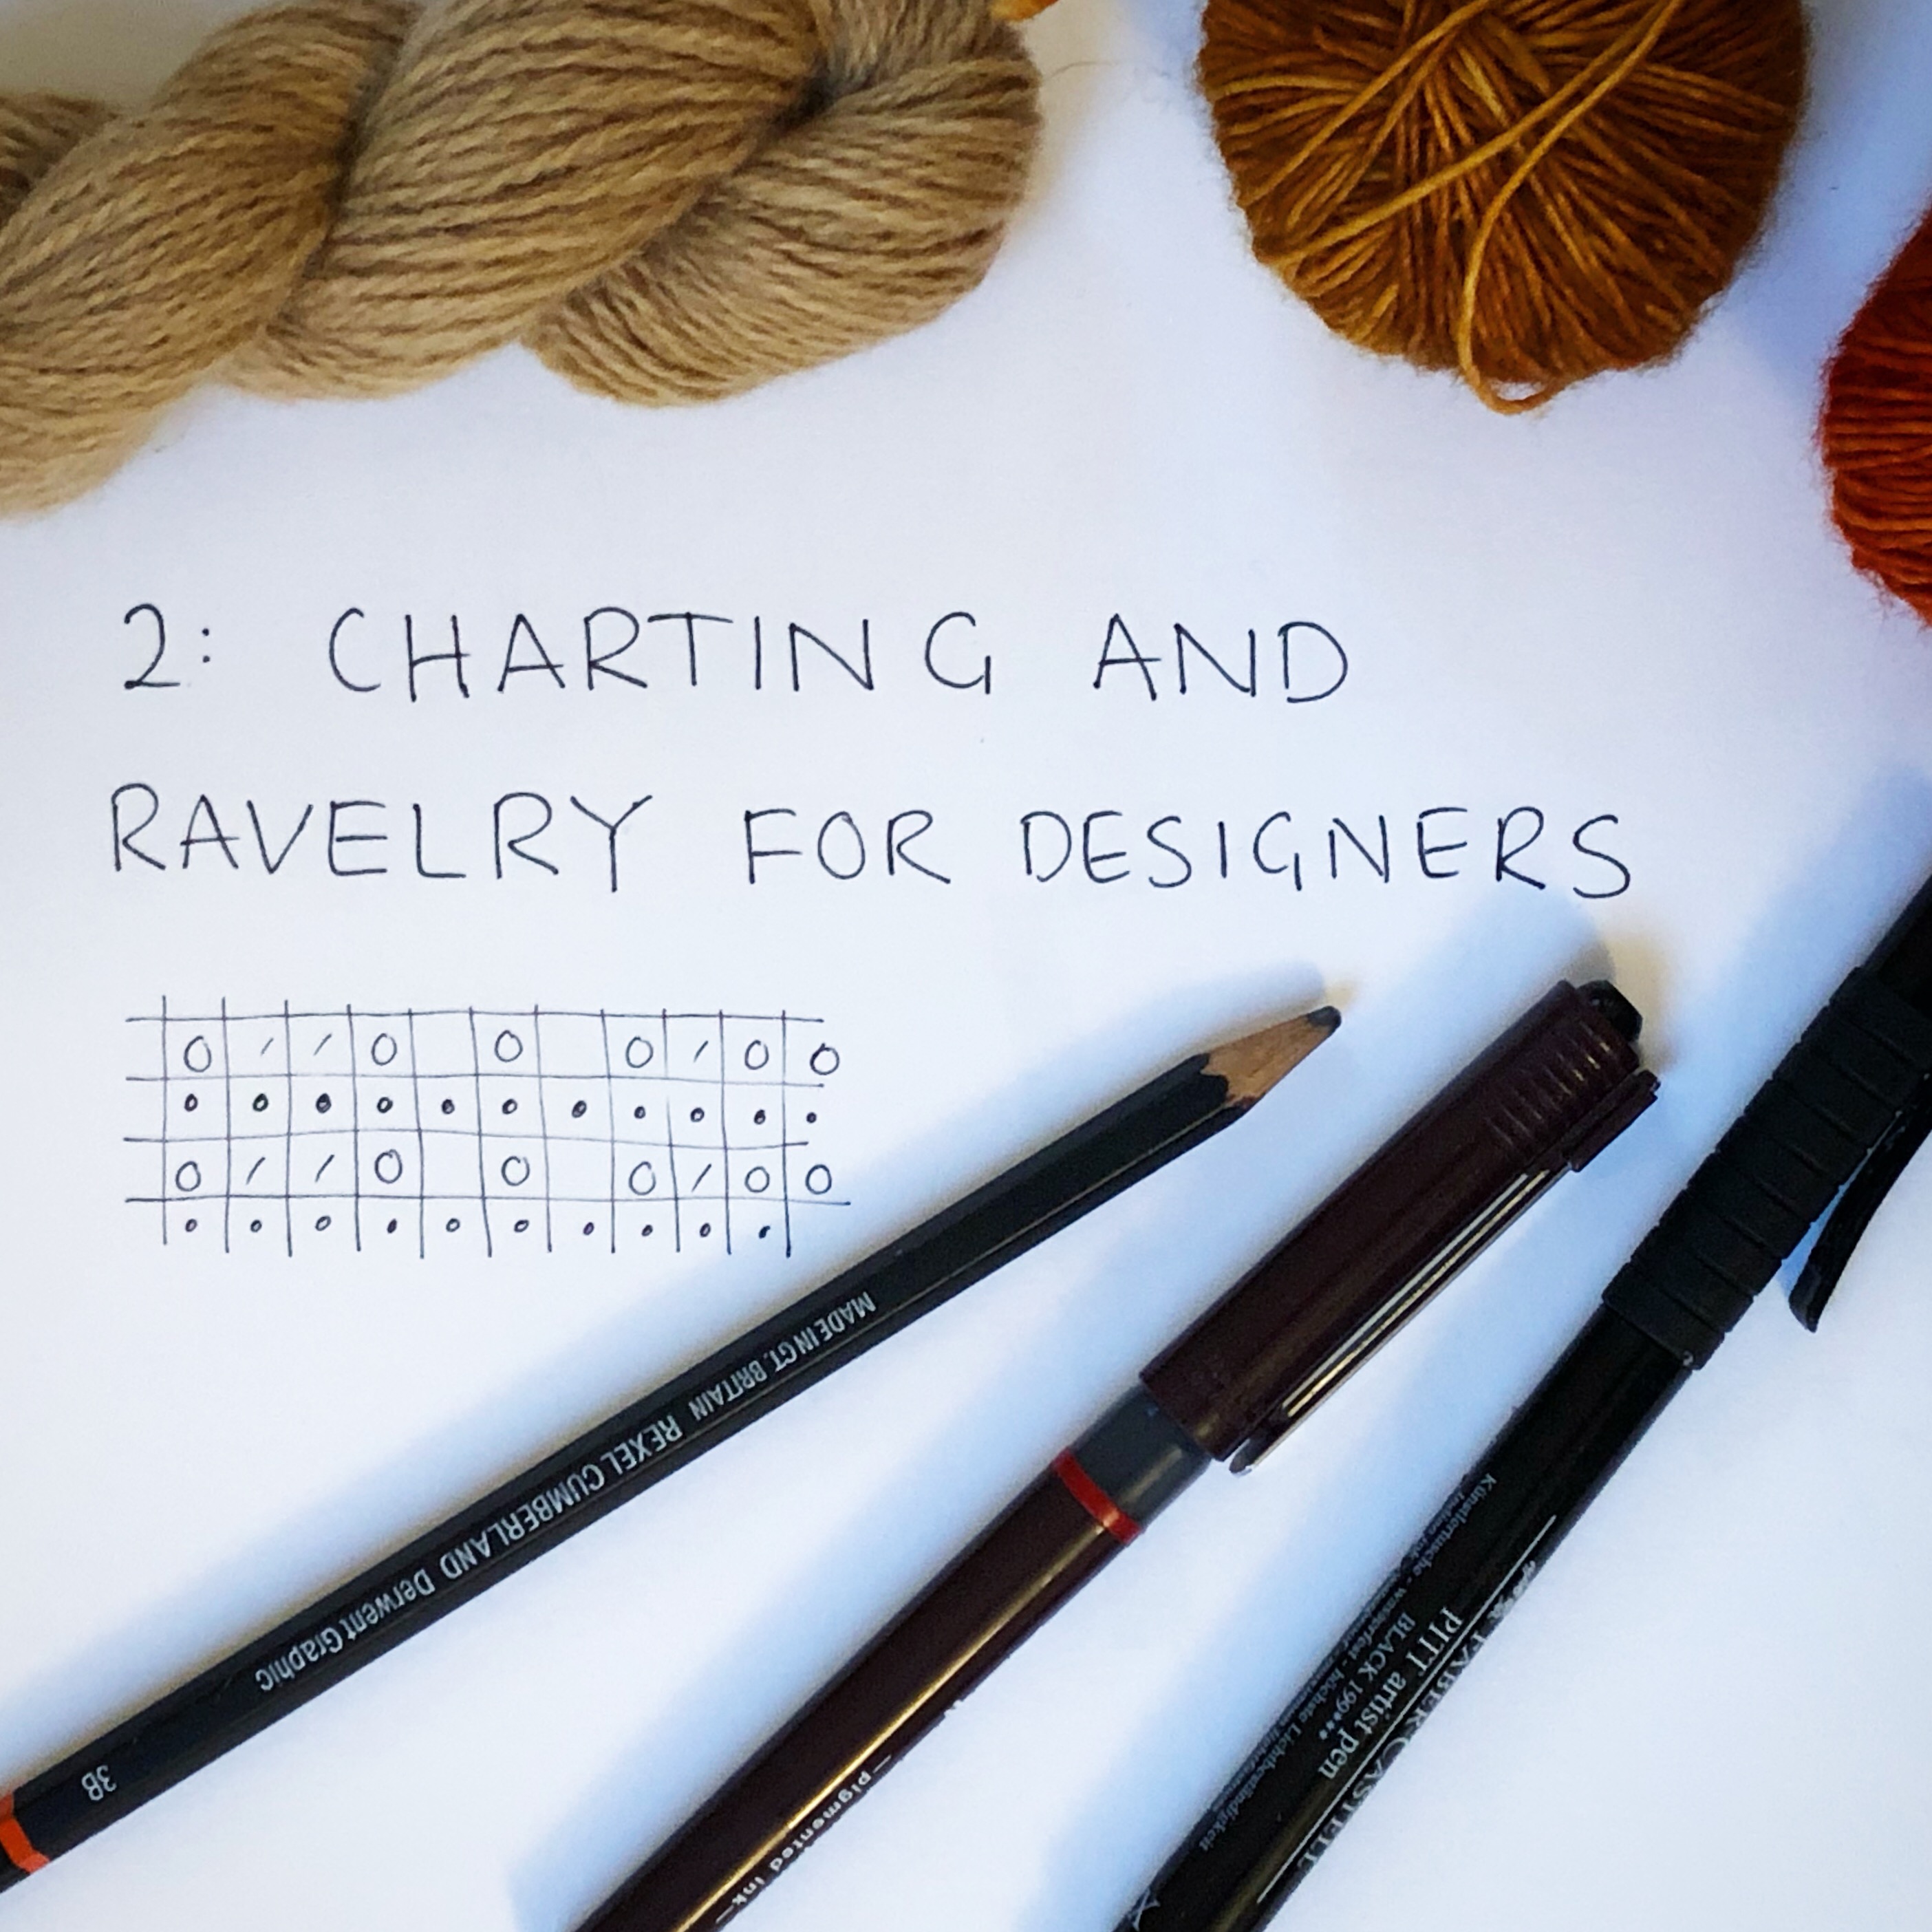
Charting
This is the second of the posts in our (Emily and Robynn) series for the Pay it Forward design school.
Previous posts:
The preamble – So you wanna be a designer…
Methods of drawing charts
There are several different resources for creating knitting charts, but the two main options for charting specific software are Envisioknit and Stitchmastery. I use Stitchmastery rather than Envisioknit because it is available for a Mac operating system, but in discussions on the Designers forum on Ravelry there are lots of people recommending either. Both programmes allow for drawing charts, customisation and, crucially for me, automatically generating instructions to accompany the charts. That said, the main source of my loyalty to StitchMastery is the excellent support available to users – there is a wonderfully informative blog and an active Ravelry group for any questions, and any time I’ve needed to email I have received a really quick an informative response (including things like, Help! I seem to have lost my activation key in a computer update).
If your main concern is to have full control over the appearance of a chart, or crucially if you want to draw a crochet chart, then using a graphics programme such as Illustrator or InDesign is your best option. There is obviously a steep learning curve involved, and you will need to either use a knitting specific font or create your own symbols for the different stitches, but this allows you full customisation over the appearance of your graphics.
To create charts using software that you already own, Excel (or Numbers) are also reasonable options, especially if you combine it with a knitting specific font for the various symbols (the one that I know of is available from Stitchmastery). To my mind the main drawback of both these options is that no written instructions are generated, and if you are making a large or complicated chart then creating those from scratch will take a significant amount of time.
There are also several free options for generating charts available on the internet, the most interesting of which is Stitchmaps. This allows you to see the shaping effect of the stitches you are using, as they are not constrained to a square grid – I often use it to check how things are going to line up after I have charted something in another programme, though I find the charts hard to knit from. Bear in mind that while you can draw a chart for free, a subscription is needed to export.
The final option is to pay a tech editor to generate the chart for you, which is probably not as expensive as you might imagine. However, to then have that chart checked it might be necessary to go to a second editor, as it is difficult to check your own work.
Resources:
Stitchmastery blog posts by Kate Atherley
Marnie Macleans tutorials (covering generating charts in Excel and Illustrator), including a tutorial for drawing crochet charts
More resources for other programmes.
Exercise #2: Charting your design using Stitchmastery
Create a full electronic chart for each stitch or colourwork pattern in your design (or if you don’t need a chart for your design, chose a pattern to chart and have a play!).
Make sure that the chart clearly shows the repeat (by stitches and rows) and that every increase and decrease is accounted for. Play with the appearance of the chart – you can change the font and the size of the text, maybe re-arrange the key.
Check the written directions – are there any changes you want to make? One of the really powerful features of stitchmastery is the ability to create your own stylesheet to customise how these instructions work.
Export both the chart and written instructions.
Join the Stitchmastery Ravelry Group and read through some of the conversations there.
If don’t have access to Stitchmastery use another one of the programmes listed above to generate a chart. Make sure that the chart clearly shows the repeat (by stitches and rows) and that every increase and decrease is accounted for. That is, do the stitch counts work out? Does each row consume the correct number of stitches resulting from the previous row? If the stitch count changes from row to row, is that clearly shown?
Write the pattern out in words and check the same thing – is every stitch accounted for? Write out any changes in stitch count at the end of each row. If you’ve done the wording manually, then if possible, enlist a friend to help you check the chart against the written instructions – read out each row of the chart to them while they follow the wording, to be sure they match up.
Ravelry for designers
Ravelry is an astonishingly rich resource and if you don’t use it, you are cutting yourself off from a wealth of knowledge, data and support. Now why would you do that?! Let’s take a whirlwind tour of the main features – with a designer’s perspective. Probably you know a lot of this already but since everyone uses Rav differently, I’m assuming nothing.
The social side

This is my (Robynn’s) Ravelry home page. It’s not the home page (what you’d see if you click on the icon, top left) – that would show you the Rav blog, and some helpful links for newbies; but I point my bookmark to the forums, and specifically to these groups, because these are the discussions I like to keep tabs on every time I check in. You might notice that none of them are the “Big 7” forums that every Raveller belongs to as default. Those are great, but I don’t need to watch them regularly (and honestly… because they’re so active, they can be pretty distracting). I belong to a large number of groups and I’ve arranged them in five different tabs, but these are the most important ones. Top left is the group I co-host with Emily, to discuss our designs. It’s not the most active, but it is friendly and most important, it’s a really useful space to announce new releases, run tests and so on. Then Designers and Budding Designers are the super-valuable groups we keep harping on about, and below I’ll show you some of the reasons why. The other groups you see there are useful for keeping an eye on new Rav developments and such, and below that (out of screenshot) I have some of my favourite social groups.
I could easily rabbit on for ages about the forums, but will try to focus on the key points. First: use the groups. There are groups for so many special interests – everything from Harry Potter to local knitting groups (or shops) to dyers and designers to parenting or feminism to particular styles of knitting… Finding a group you feel at home in can be a deeply wonderful experience, but as a designer, the main thing is to get to know groups that are relevant to your designs. For instance, groups for shawl lovers, or colourwork. Those groups can be a rich source of market research, not to mention sales. But here’s the second point: don’t be gross. As indie designers, we are incredibly lucky to have a community of customers who are genuinely eager to learn about our work, but nobody appreciates a hard sell – especially coming from someone who doesn’t participate in chat but just jumps in among a bunch of strangers to push their patterns. We’ll talk more about appropriate behaviour much later on, in the marketing topic, but basically, just remember to be considerate. Join groups to get to know what your customers want, and maybe to chat with them; promote your designs there using targeted ads, and (depending on the group’s rules) to announce new patterns in the appropriate thread. Don’t be pushy. But do take the time to find your audience.
And definitely take the time to get to know the two designers groups. Both are welcoming and supportive, full of detailed information and advice, but for a newbie, BD is definitely the better one to ask questions in. Spend some time browsing the archives (and resource pages) in both, though. You’ll learn a lot. One thing to bear in mind: both groups are home to plenty of non-designer lurkers – people who enjoy hearing about what designers do behind the scenes, without wanting to design themselves. This is great, because they occasionally pipe up to give a customer’s perspective (so helpful!), and because they follow the monthly New Designs threads. But remember they’re reading, and consider how you want to present yourself.
Note the two ringed links in the above screenshot – patterns, and “my designs”. Besides the groups, those are core features to understand.
The database
Ravelry’s complex, user-generated database of yarns, patterns and projects is enormously powerful and enormously valuable to anyone in the industry, because of the interconnections between those elements. As a casual user, you can search for project ideas by checking what others have made with the yarn in your stash; or what yarns have been used to make that pattern you’re eyeing up; or you can look at FOs for a particular design to see how it looks on a body closer to your own shape than the model’s. For designers, all of those uses are great, but you need to particularly understand the pattern database.
The advanced pattern search lets users filter by (many!) factors including yarn weight, yarn quantity, item category, fabric characteristics and a host of design elements, from construction (flat? seamless? top-down?) to neckline shape – so be sure to add all that detail when uploading your pattern. You can also use this search in the design planning stage: for instance, to get a rough idea of how much shawl a skein of a particular yarn might make. (Of course you need to swatch and weigh to know for sure, but this is a handy starting point.) Or to see if your brilliant idea has already been done ten times over. (But remember, originality is overrated.) And definitely to check if your perfect name turns up five pages of results…
The pattern database can also be viewed in order of recent popularity, or the (in)famous “Hot Right Now” pages. Visit this page with care: it can be demoralising, if you feel it’s being dominated by a particular aesthetic and a handful of top designers; and it’s easy to get sucked into checking where your newest release is on that list. (The flurry of activity that goes with a launch often pushes new patterns up the rankings for a day or two.) HRN isn’t necessarily a good indication of a pattern’s success in the long run. But it is interesting to view as a trend snapshot – and I find it helpful as inspiration for pattern styling.

Beyond that, you need to understand how your own patterns appear. I know that as a customer, I always check user projects (look along that row of tabs at the top) to see how the design looks in different yarns and on different bodies. So do what you can to boost those project numbers – test knitters are great for this. I also like to feature my favourite customer projects alongside my own photos (as I’ve done here), to highlight the pattern’s versatility, but many designers prefer to keep a tight rein on the page’s aesthetic by only using their own photos. There’s no one right way.
Your designer page

Every named designer of every pattern on Ravelry has a page like this – including those who only design for magazines or other publishers. Self-publishing designers also have Ravelry stores. The wiki has detailed guides on getting started as a designer, and setting up your store.
Your designer page of course lists all your patterns, but it has some other nifty features. First, you can create bundles to help customers navigate those patterns. Second (and far more important to you as a new designer), it gives you a place to let customers get to know you – what’s your design philosophy? Where else can they find you online? Don’t neglect this space. Nor, for that matter, your personal Ravelry profile. It’s easy to forget to update your social links etc, but what a wasted opportunity.
There’s also a link to user activity, which shows every like, every queue, every comment or forum post about any of your designs. I love being able to see who’s talking about my stuff this way, but again, you have to go carefully: there’s a fine line between thanking someone for mentioning your work, and butting in unwanted. I always check carefully to see why the pattern came up and might say something like, “Hey thanks for the mention! Here’s another pattern that might suit your needs” – not punting one of my own designs, but offering a sincere contribution to the conversation. That usually gets a positive response, and gets me insight into what customers are looking for.
Bonus exercise: dip your toes in Ravelry
If you aren’t already a regular Rav user, it’s time to explore.
– Find and join five groups (as well as Budding Designers and Designers!) that are relevant to your interests (whether personal or design-related). Lurking’s fine, you don’t have to chat, but read a few threads. Oh, and need it be said, we’d love to welcome you to https://www.ravelry.com/groups/mirandas-lounge.
– Organise your boards to put those new groups at the top of your home forums tab. Check in on them every day for a week.
– Add your current projects. Link the yarn you’re using and note the needle size, this is the main reason I start a project page for every single design I start noodling with. (I won’t make you add your stash. It’s super useful to do so – but for most of us that’s a major challenge in itself!) Oh, and if you’re knitting something from a pattern? Adding and linking projects is incredibly valuable for the designer. I’m just saying. They’ll love you for it.
– Do an advanced search for your current design concept. Use every filter to narrow it down as closely as you can to exactly what you’re making: the category, the shape, the fabric, the yarn. Interesting, no? So many patterns with the same criteria – but none of them are yours. There are plenty of ideas to go round.